Preparing a Thanksgiving dinner can be stressful enough without the overcomplicated centerpiece: the turkey!
If you’re looking for a simple yet delicious turkey recipe that includes no brining or basting, then you’ve come to the right place.
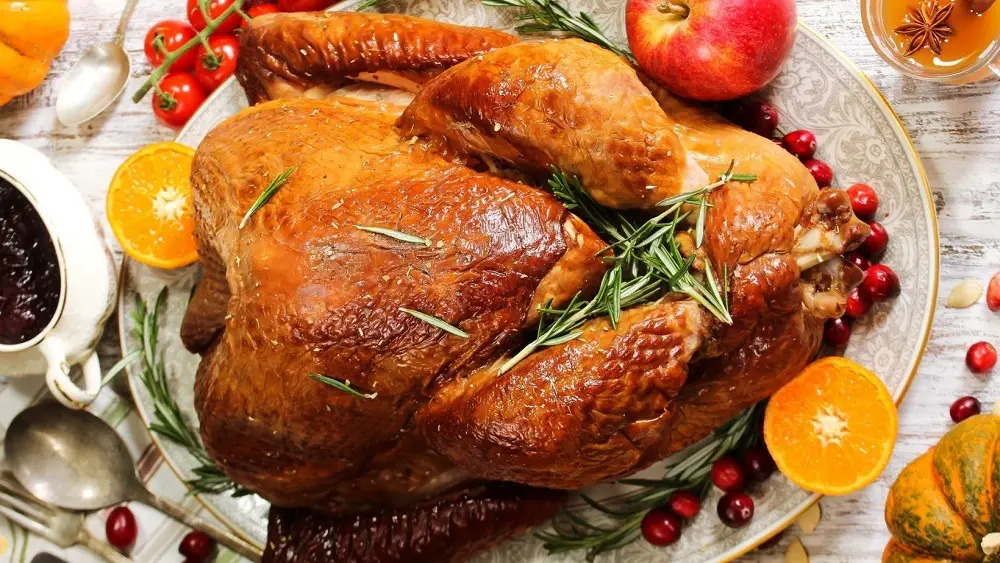
In this article, I will give you a step-by-step guide on the easiest way to make a Thanksgiving turkey!
Keep reading to find out more.
Equipment you’ll need
- A roasting pan
- A roasting rack
- Kitchen twine
- An instant-read thermometer
Ingredients
For the turkey:
- 13-16 pound kosher turkey
- 2 tablespoons of olive oil
- 1 scant tablespoon of salt
- 1 ¾ tablespoon freshly ground pepper
For the turkey cavity:
- 1 onion, cut in quarters
- 2 stalks celery
- 2 bay leaves
- 1-2 carrots or parsnips
- 1 russet potato
- Fresh thyme (half a bunch)
For the gravy:
- 4 stalks of celery, finely chopped
- 3 large shallots, finely chopped
- Half a bunch of thyme tied together with kitchen twine
- 2 ½ cups quality chicken broth, preferably homemade
- 1 tablespoon of olive oil
- The turkey neck
- Freshly ground pepper and salt to taste
Instructions
For the turkey:
- Preheat the oven to 450°F and place the rack on the lower third of the oven.
- Begin to prep your turkey by removing the neck and the bag of gizzards that come with it. Set the neck aside for your pan juice gravy.
- Once you’ve removed the neck, coat the turkey lightly with olive oil. Rub in the salt and pepper with your hands, making sure the bird is evenly coated.
- Next, place the turkey over the roasting pan on your rack and stuff the cavity with vegetables. If it’s a tight fit, you might want to cut some of them in half. By stuffing the turkey, you are creating a flavor base for the pan juices.
- Ensuring that the turkey is breast side down, next add a cup of water or broth to the bottom of the pan. If you notice that it has evaporated during cooking, you can add more. Tie the chicken’s legs together with kitchen twine.
- Before placing the turkey into the preheated oven, you need to calculate an approximate cooking time depending on the size of the bird. Consult the packaging that the bird came in and work out the cooking time. Place the turkey into the oven.
- After around an hour of cooking, take the turkey out of the oven and shut the door. Use clean oven mitts to avoid burning yourself and flip the bird over so it is breast side up. Place the turkey back in the oven.
- When you have checked the turkey on both sides of the thighs and it registers 160°F, take it out of the oven.
- Place the rack over another roasting pan so you can collect all of the delicious juices in the pan you just cooked in. Loosely tent the bird with tin foil and allow it to rest for 30 minutes before carving.
For the pan juices gravy:
- Begin the gravy by placing a pan over a medium-high heat and add a tablespoon of olive oil.
- While the pan is coming to temperature, finely chop the shallots and celery and gather the rest of your ingredients.
- Once you’ve prepared your vegetables, add the shallots, celery, half a bunch of thyme, and the turkey neck to the pan and allow the ingredients to sauté for around 7 minutes.
- When 7 minutes have passed, add broth to the pan. Adjust the heat to low and allow the ingredients to cook down for about 40 minutes or until the vegetables are really soft.
- Once the turkey is done, remove it from the roasting pan and pour all the juices from the bird into a measuring jug, and place it in the freezer for a few minutes to allow the fat to separate. If there is a lot of fat, use a shallow spoon to scoop it out. However, you do want a thin layer of fat to remain. Pour into the sauté pan.
- Next, take the pan you roasted the bird in and place it over 2 burners on your stove, on a medium-high heat. Pour in a cup of broth and scrape out all of the leftovers that contain a tonne of flavor! Pour it into your sauté pan.
- Let the juices cook on a low heat until you are ready to serve with your turkey. Remove the thyme branches and the turkey neck. Either use a wooden spoon to smash down the veggies into a mush or alternatively place the whole mixture into a blender. If you’d prefer to strain out the vegetables, you can do this, too.
Tips on carving a turkey
- Don’t cut toward yourself – Your free hand should be placed opposite the side you are carving toward. Don’t place your hand underneath the blade to catch the slice of meat.
- Keep all cutting utensils sharp – Having a sharp knife will avoid the need to use a lot of force when cutting.
- Keep your knife handles and cutting area dry – Don’t attempt to cut with wet hands, as this can increase your chances of slipping with the carving knife as you carve.
- Use a fork to stabilize the turkey – When you’re carving with one hand, stabilize the turkey with a fork in the other hand.
Should you wash your turkey before preparing it?
No, washing your turkey before preparing it isn’t necessary. While you might be concerned about not washing your turkey beforehand, there are implications associated with washing raw poultry.
If you wash your turkey in your sink, you will contaminate your sink with raw meat juices and could end up becoming sick. When it comes to cooking your turkey, the safest option is to remove the turkey from its packaging, dry it off with some paper towels, and then prepare it for the oven without washing it. Any bacteria on the turkey will be killed in the hot oven while it cooks in the oven.